Dryer Vent Repair · Elgin

Dryer Vent Repair in Elgin, IL

We find the part of the run that failed, rebuild it in metal, and test the air before we leave.

Free Dryer Vent Repair quote.

Tell us about the job. We reply within one business hour.

Your information is kept private. No spam, ever.

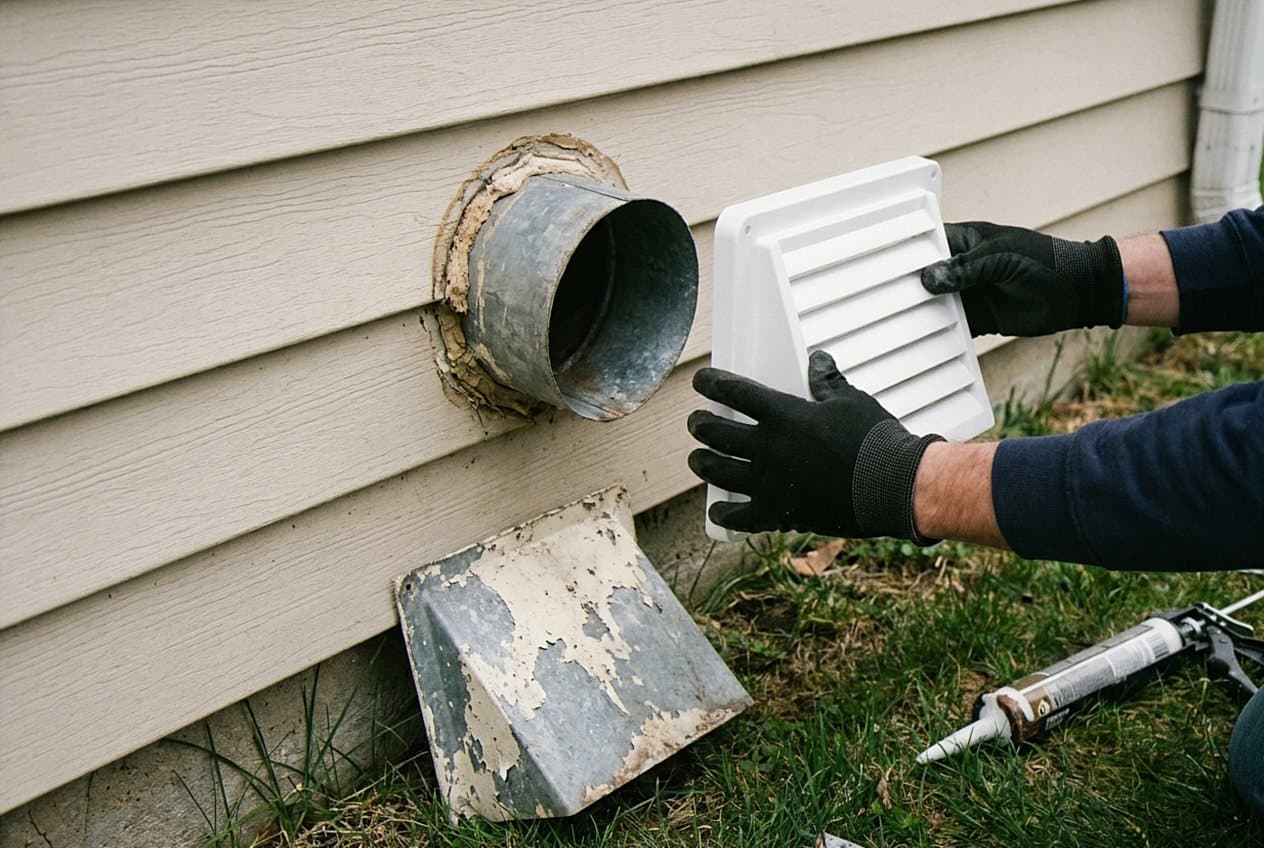
Swapping a rusted vent hood for a new one
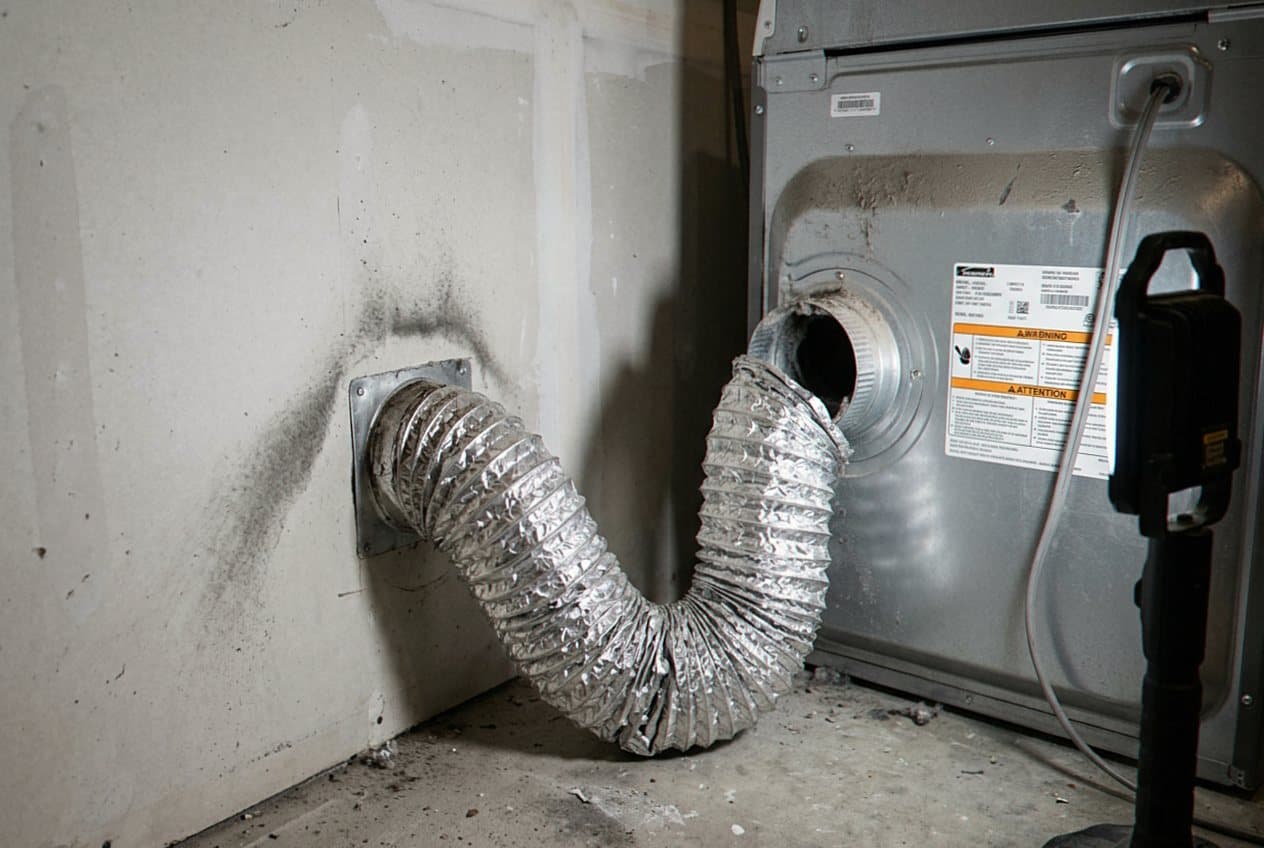
Loose duct hose sagging beside a dryer
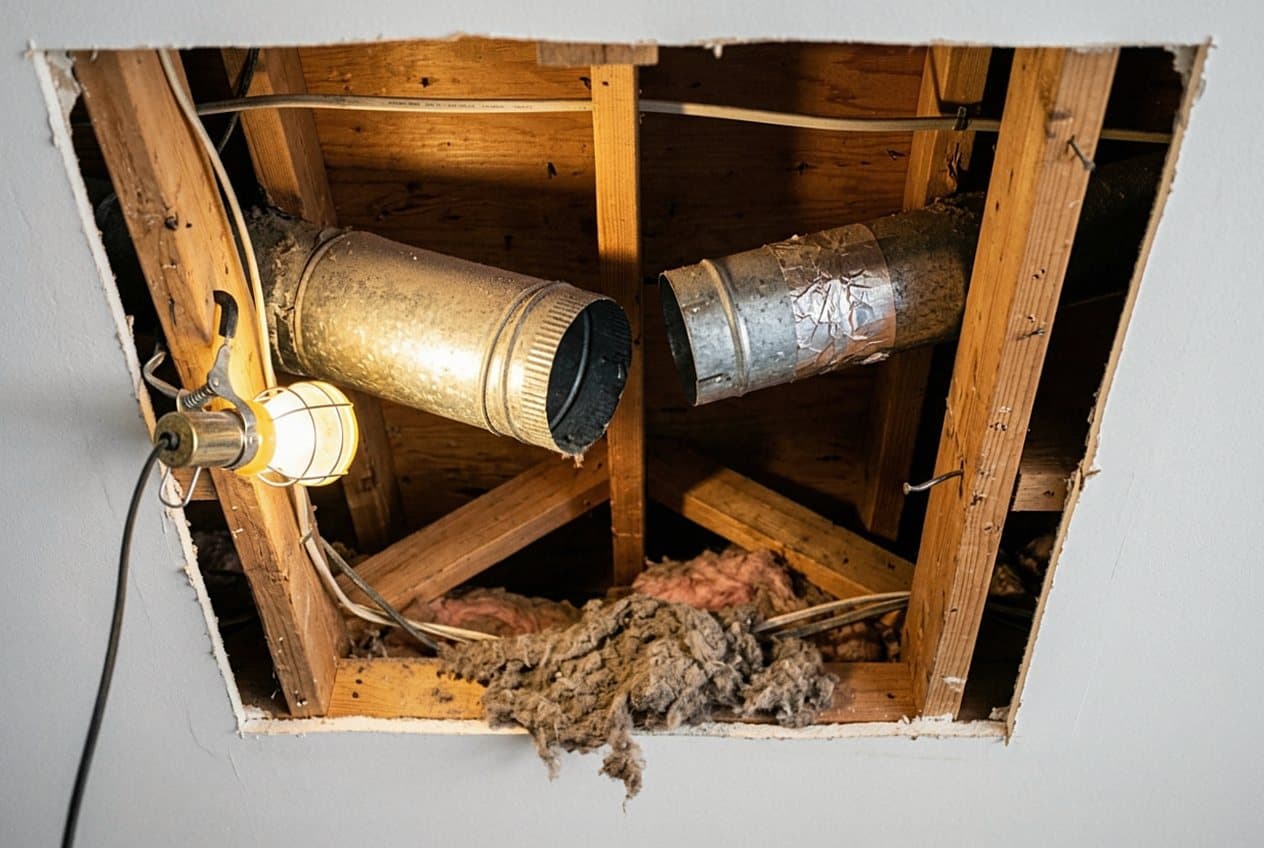
Two duct sections exposed inside attic framing
What we do

What we fix when a dryer vent fails

A dryer vent is a simple run of pipe, and it fails in simple ways. The elbow behind the machine gets crushed when the dryer slides back against the wall. Foil pipe sags between the joists and holds a low spot full of damp lint. Screws poke into the airway and snag every fiber that goes past. Outside, the flap on the wall cap breaks off or freezes shut after an ice storm. Any one of these turns a short run into a long one, and your dryer feels it. Clothes come out warm and damp. The laundry room smells hot. We repair the run itself so the air has a straight path out of the house.

We start by finding the real fault instead of guessing at it. Our crew traces the full run from the back of the dryer to the cap outside, checks every joint, and reads the airflow at both ends. Sometimes the fix is small. A crushed elbow gets swapped for a metal one that holds its shape. Sometimes the run itself is the problem, and we rebuild the bad stretch in smooth metal pipe, sealed with foil tape rather than screws. On the outside wall we replace broken hoods, stuck flaps, and torn seals. Then we run the dryer and feel the pull of air at the cap with our own hands before we pack up the truck.

  • We find the actual break instead of cleaning around it, so the same clog does not come back next month.
  • Crushed and sagging sections get replaced with metal pipe that holds its shape behind the machine.
  • Loose joints get sealed with foil tape, never screws, so lint has nothing inside the pipe to grab.
  • Broken wall hoods and stuck flaps get swapped out, which keeps birds and cold Kane County air outside.
  • We read the airflow at the dryer and at the wall before and after the work, and we tell you both numbers.
A vent repair is not really about the dryer. It is about the pipe between your machine and the outside wall, and whether the air inside it can leave.

Most homes around Elgin put the laundry in the basement or in a hall closet on the main floor. That means a long run with several turns, and every turn adds drag. Older houses near the historic districts often have foil pipe stapled to the joists from a remodel years ago. Newer subdivisions out west have shorter runs, but the pipe often ends in a roof cap that nobody has looked at since the house was framed. We work on both kinds. If a run is simply too long to breathe, we will say so, and we will lay out what a shorter path would take before you spend a thing on parts.

If your dryer takes two cycles to finish a load, or the cap outside barely moves when the machine runs, the vent is telling you something. Call us and describe what you are seeing. We will ask a few questions, tell you what we think is wrong, and set a time to come look. Our crew works across Elgin and the towns close by, from South Elgin and Bartlett to Streamwood, Carpentersville, and St. Charles.
Materials

Parts we use on a vent repair

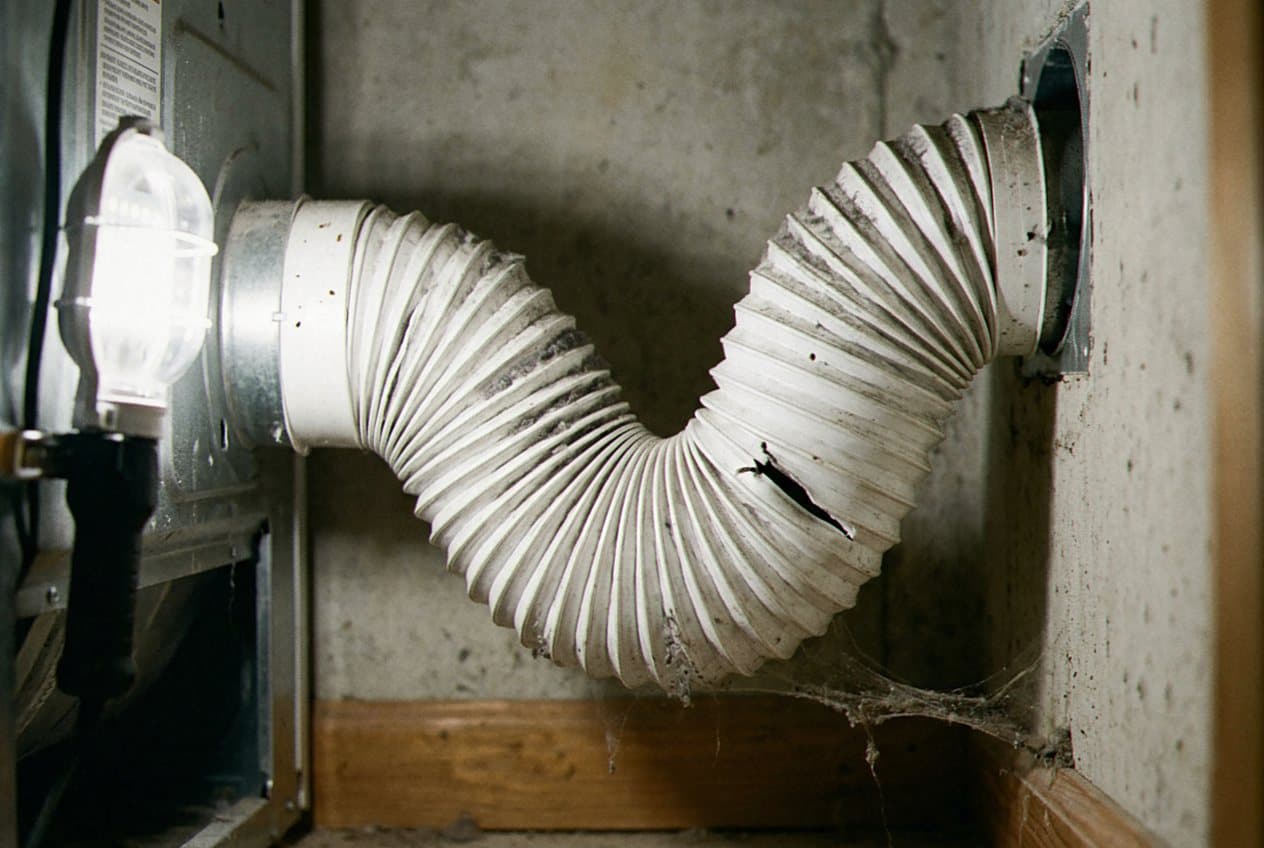
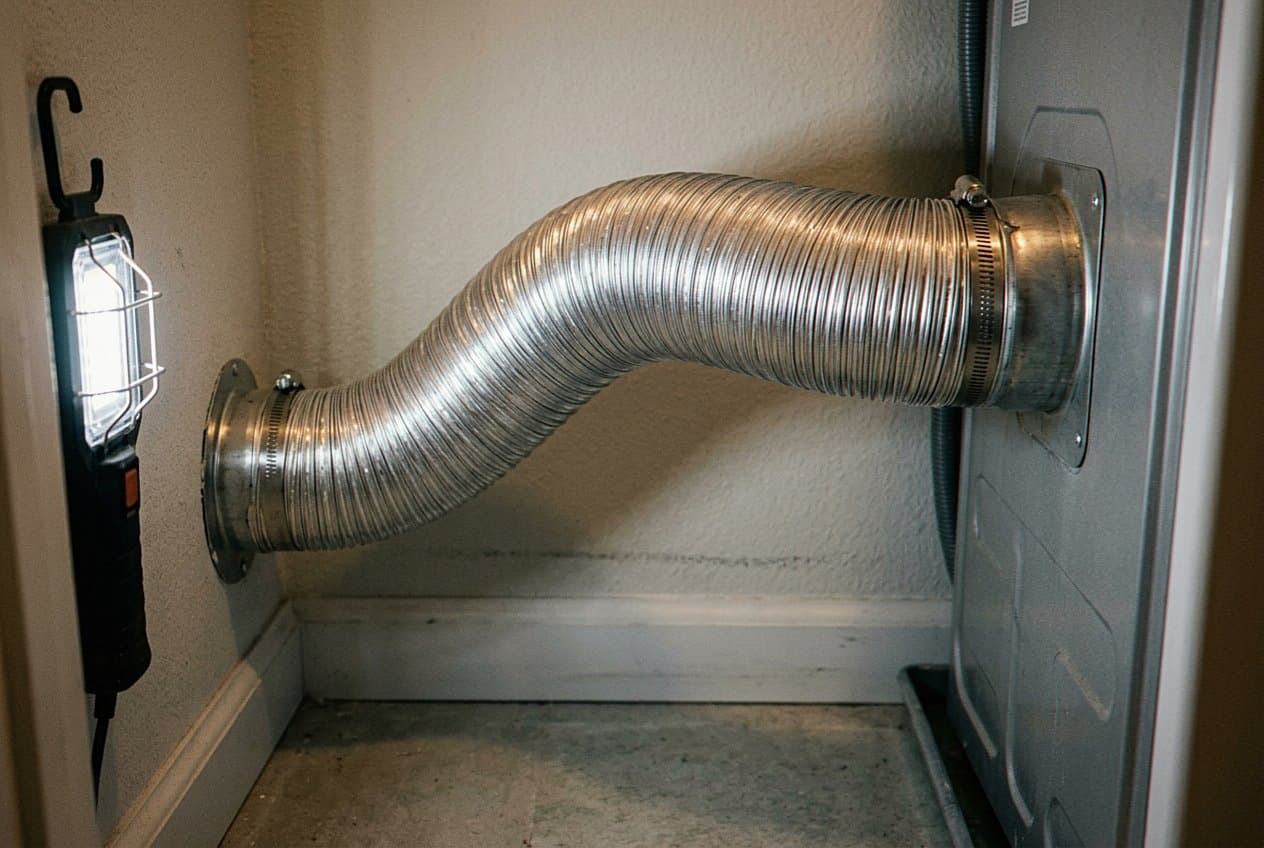
The pipe we put in matters more than any tool in the truck. Metal duct with a smooth inside wall moves air well and gives lint nothing to catch on. Semi rigid metal is the next step down, and it earns its place in the tight spot behind the machine where a hard elbow will not fit. Flexible foil and plastic are the ones we pull out. They sag between joists, they crush the moment a dryer gets pushed back, and the ribs inside them hold damp lint like a filter. We also carry foil tape rather than screws. A screw sticking into the airway is a snag point, and over a few years it builds a lint plug you can see from both ends of the pipe.

Outside the house, the cap does the quiet work. A good one has a wide mouth, a light flap that swings freely, and no screen across the opening. Screens look tidy and then pack solid with lint by the second winter. We fit caps that seal against the siding so rain and cold air stay out, and we lay fresh caulk rather than trusting the old bead. When a run ends on the roof, we use a cap built for weather with a taller collar, so drifting snow does not sit on the flap. On long runs we look at whether a booster fan belongs in the middle of the line, and we tell you plainly when it does not.

  • Metal duct with a smooth inside wall, joined with foil tape and no screws in the airway.
  • Semi rigid metal for the short bend behind the dryer, where a hard elbow has no room to sit.
  • Wall caps with a free swinging flap and no screen, sealed tight against the siding.
  • Roof caps with a taller collar for runs that exit above, since Elgin snow sits on a flat flap.
Torn vinyl hose with a visible hole
New metal hose clamped onto a dryer
What about the alternatives?

Ways to deal with a failing vent run

There is more than one way to handle a vent that has stopped moving air. Some of them fix the problem for good. Others buy you a season and nothing beyond it. A couple leave the run worse off than it was before anyone touched it, which is why we will not do them at all. Here is how we weigh each one before we pick up a tool.

Rebuild the bad section in metal pipe

We cut out the crushed or sagging stretch and set smooth metal in its place, sealing every joint with foil tape as we go. Air moves again. Lint keeps traveling instead of piling up, and the fix holds when the dryer gets pushed back against the wall.

Recommended

Swap the elbow behind the dryer

When the rest of the run is sound, one crushed elbow behind the machine turns out to be the whole story, and a metal elbow gives the dryer room to sit back without pinching the pipe shut. Quick work. Often it is all the job needs.

Acceptable

Replace the wall cap and flap

A broken flap or a screen packed solid with lint will choke a run that is otherwise healthy. New cap. Clean mouth, sealed edge, and a fresh bead of caulk against the siding so weather stays outside where it belongs.

Acceptable

Add a booster fan to a long run

Some basement runs are simply too long for a dryer to push through alone, and a fan set into the middle of the line takes that load off the machine. The pipe has to be clean metal first. Think of it as support rather than repair.

Acceptable

Wrap the leaking joint in cloth tape

Cloth tape dries out in the heat and lets go, usually inside a wall or above a ceiling where nobody can watch it happen. Then the joint leaks. Lint and damp air push into the house, and the first clue most people get is a stain on the drywall.

Skip

Vent the dryer into the basement with a lint bucket

This dumps hot moisture into the house on every load, and through an Illinois winter it feeds mold on cold foundation walls and window frames. We will not set one up. We take them out when we find them.

Skip
How it goes

From quote to walk-on, fast.

1

Your inquiry

Call or send the short form with what is going on at your place. A sentence or two is plenty.

2

We talk it through

We go over the situation on the phone, ask the questions that matter, and tell you what we would do next.

3

A clear plan

You get a plain rundown of the work, the order it happens in, and what to expect on the day.

4

The work gets done

We hand the work back with a final look together, so you see exactly what was done and why.

Before you book

Straight answers before you book a repair

People ask us the same handful of things when they call about a vent that has quit working. Here is what we tell them on the phone.

Do I need a repair or just a cleaning?

Often a cleaning is all it takes, and we will tell you when that is the case. A repair is the answer when the pipe itself is damaged, when a joint has come apart, or when the run is built from material that will pack up again in a few months. We look first, then we say which one you are dealing with.

How long does a vent repair take?

Most jobs run one visit. A crushed elbow or a new wall cap is quick work. Rebuilding a long basement run with several turns takes a good part of the day, since we have to open the path, set the pipe true, and seal every joint by hand.

Will you have to open my walls or ceiling?

Usually not. We work from the ends where we can, and we pull new pipe through the path that is already there. If a stretch inside a finished ceiling has failed, we tell you before anything gets cut, and we talk through where the access would go.

My dryer is new and it still takes two cycles. Why?

A new machine cannot fix an old pipe. Modern dryers move a lot of air, and many of them stop early when they sense heat backing up. Nine times out of ten the run behind the machine is the reason, not the dryer you just bought.

Can you work on a run that ends on the roof?

Yes. Roof runs are common on the newer streets around Elgin, and they need a cap built for weather. We check the collar height, the flap, and the seal at the flashing. A leaking cap up there shows up as a ceiling stain long before anyone thinks to blame the dryer.

What about the vent for my rental unit?

We work on rentals and small multi unit buildings around Kane County. Shared runs and stacked laundry closets have their own quirks, so we walk the whole path before we quote the work. Tell us how many units share the line when you call and we will plan around it.

Aftercare

Keeping the repaired run in good shape

A repaired vent stays healthy with very little effort from you. The pipe is smooth now, so lint has nothing to hold onto, and most of the job from here is simply not undoing the work. Give the dryer a few inches of breathing room at the wall. Clear the lint screen every load. Step outside once in a while when the machine is running and hold your hand under the cap, because a steady push of warm air is the sign that everything behind it is still open. When that push fades, something has changed, and catching it early keeps a small fix small.

  • Clear the lint screen before every load.
  • Leave a few inches between the back of the dryer and the wall, so the elbow behind the machine keeps its shape.
  • Check the cap outside in spring, when birds start hunting for a warm spot to nest.
  • Watch for ice on the cap after a cold snap, since a flap frozen shut traps damp air inside the run.
  • Listen for a dryer that runs longer than it used to, which is usually the first sign a line is loading up again.
  • Have the line cleaned about once a year, sooner if you dry heavy loads or run laundry for a busy household.
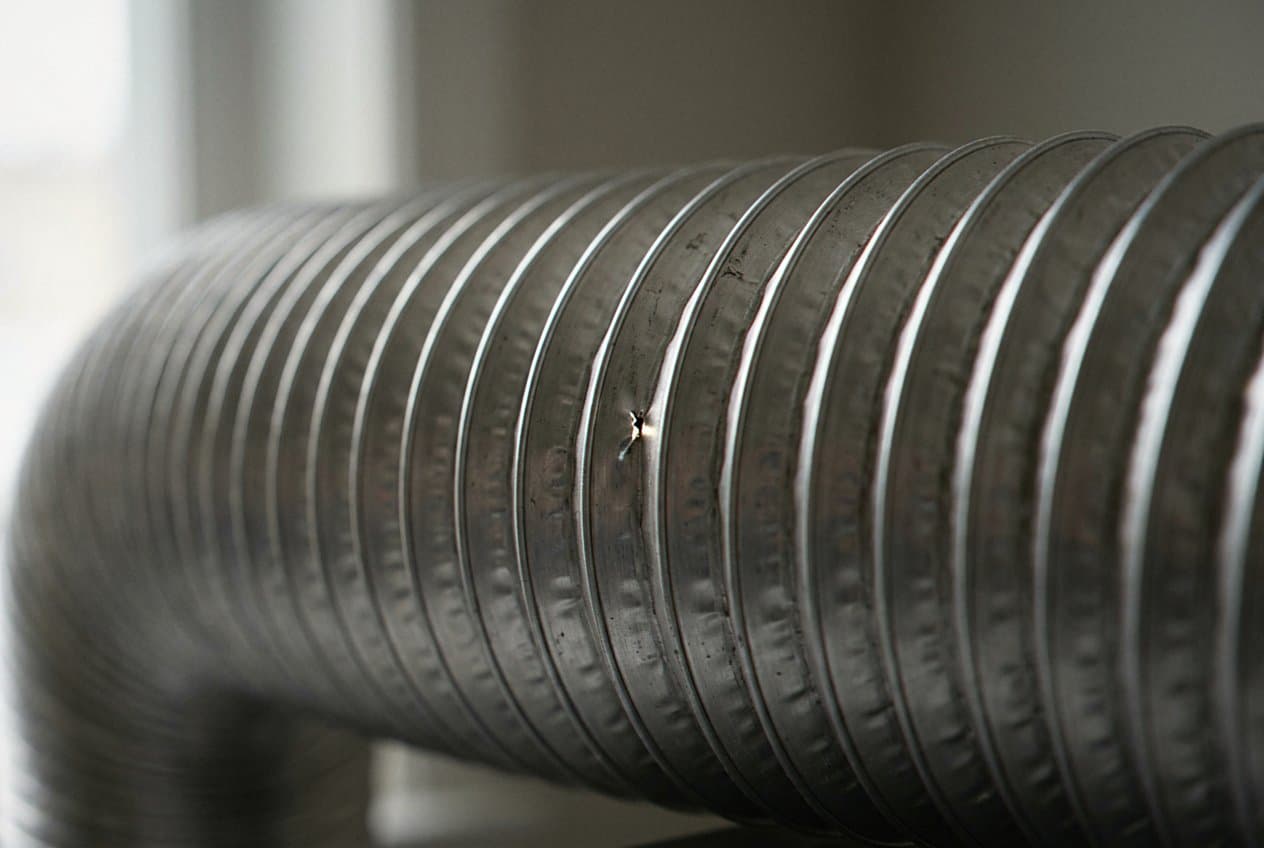
Close-up of a punctured foil duct wall
FAQ

Dryer vent repair questions we hear in Elgin

Ready for a quote in Elgin?

Call or send the form with what is going on. You get a straight answer and a written quote, fast.

CallFree quote